This is a guide for girls who know absolutely nothing about painting D&D miniatures written by girls who knew absolutely nothing about painting D&D miniatures.
We started painting D&D figures because like most things we do, we had a crazy random urge to do it. We had ZERO idea what to buy, ZERO idea how to paint them, and ZERO art skill. After an insane amount of frustrating research, numerous trips to the craft store, and hours painting the actual figures, we were extremely happy on how they turned out.

We’re practically addicted to painting these tiny things because they’re so awesome and we would love nothing more than to share our new addiction with you guys. Here’s what we did and how to do it.
What To Buy
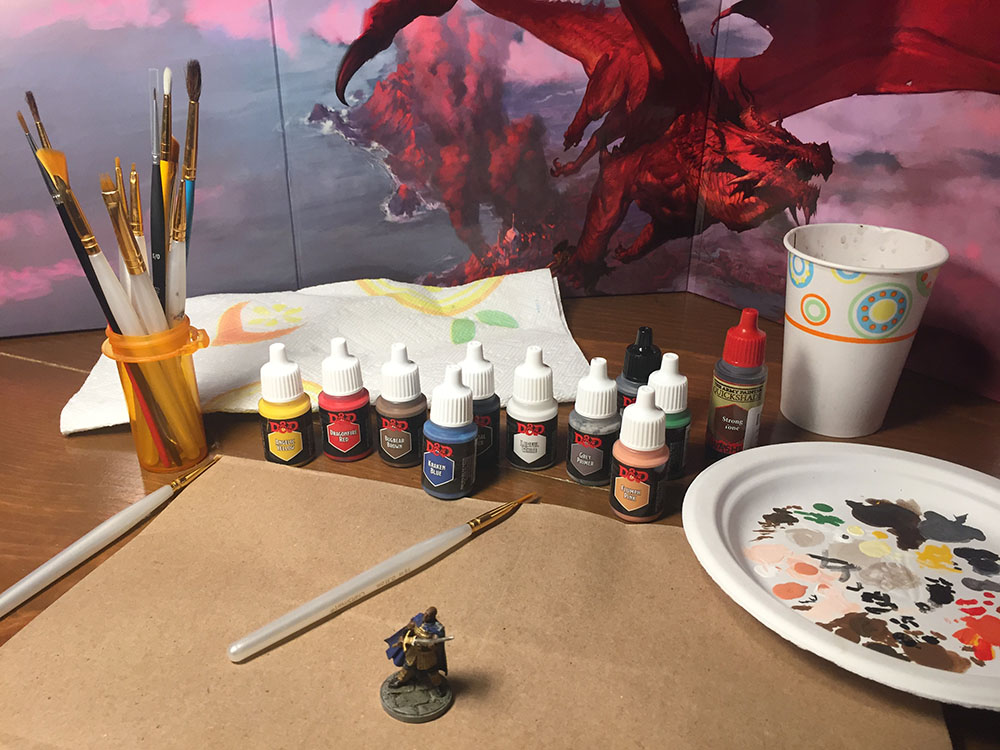
After choosing between prices and quality, we found the perfect compromise, The Army Painter Dungeons and Dragons Official Paint Line Adventurer’s Paint Set. This paint-set contains 9 basic colors, primer, a paintbrush, and it even includes a D&D miniature to practice on.
Having 9 colors to paint with may seem too few, but by mixing simple colors with black or white or other colors, you can create every shade you’d need. Also, this set includes primer, which is super important. Primer is a paint that you apply first on a D&D miniature to help the colored paint stick and dry smoothly to the plastic or metal material.
We also bought a pack of detailed paintbrushes because it made painting details SO MUCH easier than using the single paintbrush that was included in the D&D paint-set. Using paintbrushes you have lying around the house is great too, but trust us, you want the smallest paintbrushes on Earth.
This next item is our favorite because it makes the D&D miniature look ten times cooler with little to no effort. We dreaded the thought of having to paint eyes and add shadow to our miniatures, but after some research we found a special paint that does both. Toner, also known as wash, is a special coating you paint on a D&D miniature which adds natural shadows, tone, and even details to facial expressions.
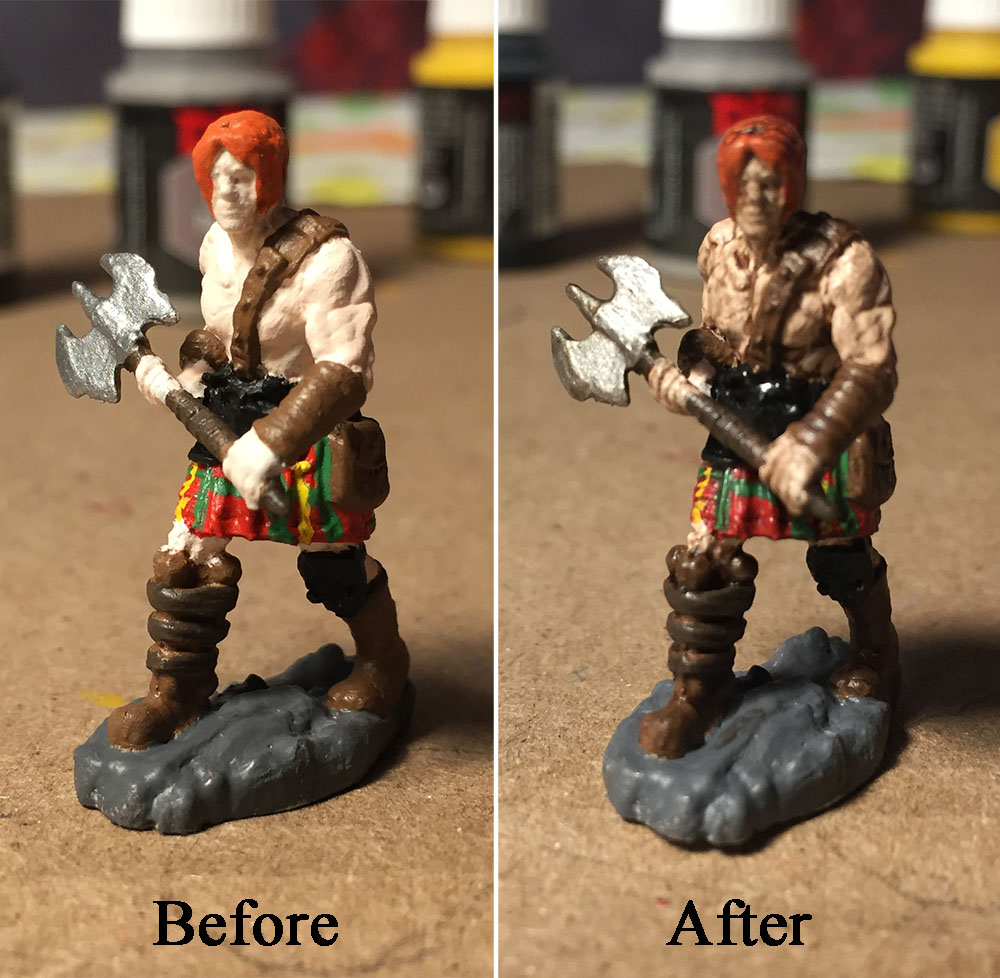
Be careful when buying toner because the stronger the toner, the darker and muted your colors end up looking. We use a strong toner because we like our miniature’s color to look really muted, worn, and battle hardy. If you want your miniature to look colorful and bright, buy a lighter toner. If you want your colors to look a little muted and worn but not too much, buy a dark toner.
Lastly, we bought a D&D miniature. Miniatures can sometimes come with or without primer already painted on them, however, it doesn’t really matter because you should always add on your own coat of primer just in case any part of the figure was missed.
There are tons of places to get D&D miniatures. Amazon, Walmart, and local card/game shops are all great places to buy them. When choosing a brand of D&D miniatures, we recommend using WizKids Nolzur’s Marvelous Miniatures because it’s associated with the official D&D company, we always receive great quality figures, and their selection is super awesome.
Set Up
- Newspaper (to protect any surface while you’re painting)
- A cup of water (to wash paintbrushes when switching between colors)
- Paper towel (to dry your paintbrush)
- A paper plate (to place and mix colors)
- Good lighting (it’s hard to paint tiny details in dark lighting)
Painting Your Miniature
We super recommend using the practice miniature included in the D&D paint-set before using your own because there’s a tiny itty bitty learning curve to painting a miniature.
Step 1. Primer
Before we begin painting anything, we plan ahead what colors we want and where we want to paint them. To give our miniatures an artistic and awesome look, we use a color scheme. Since we have no idea how to choose the right colors, we use this nifty website, coolors.co.
After we decide what colors we will use and where, we take the grey primer included in the paint set and shake the paint bottle. We don’t know for sure if shaking the paint does anything helpful, but it’s fun to shake it, so why not.
Then we take a medium sized brush, squeeze out some grey primer on a paper plate, and paint a crap load of primer on the miniature. We paint the face, the weapons, the small crevices, and even the base. Don’t worry about adding too much primer on the miniature. The primer dries in thin coats and all the details will still be visible. Also, it’s better to make sure the whole miniature is covered rather than not.

Once we’re done painting with the primer and every millimeter of the miniature is covered, we wash the paintbrush in the cup of water, dry it using the paper towel, and let both the miniature and paintbrush dry before we begin to paint using colors.
Step 2. Painting with Color
We repeatedly paint our miniatures using these steps:
- Choose a paint color
- Squeeze the paint on the paper plate
- (mix paint with other colors if desired)
- Select paintbrush size
- Paint the color where desired
- Wash paintbrush using the cup of water
- Dry paintbrush using paper towel
- Continue cycle until the entire miniature is painted
Here’s a short speed-paint video of us painting a D&D miniature using the steps above:
**Remember that depending on what toner you use (strong, darker, or light), your end color will look darker than how it currently looks, so adjust color brightness as needed.
After our miniature is completely painted, we let the paint dry, and then we begin doing small details such as armor lines or straps of clothing or anything else that requires a delicate touch.
**Sometimes, if the color we chose isn’t what we wanted, or if we messed up really badly, we wait for the paint to dry and simply repaint over the area.
Step 3. Toner
Once everything is painted and details are added, we let the miniature completely dry before finally using toner. Apply the toner exactly as you did the primer. Shake bottle, pour it on paper plate, and then paint. We paint the toner everywhere, the base, the weapons, clothing, and especially on the face because it fills in the annoyingly difficult facial features.
The toner can take a while to dry and it might look horrible, but trust us, it looks super cool once it’s done drying.
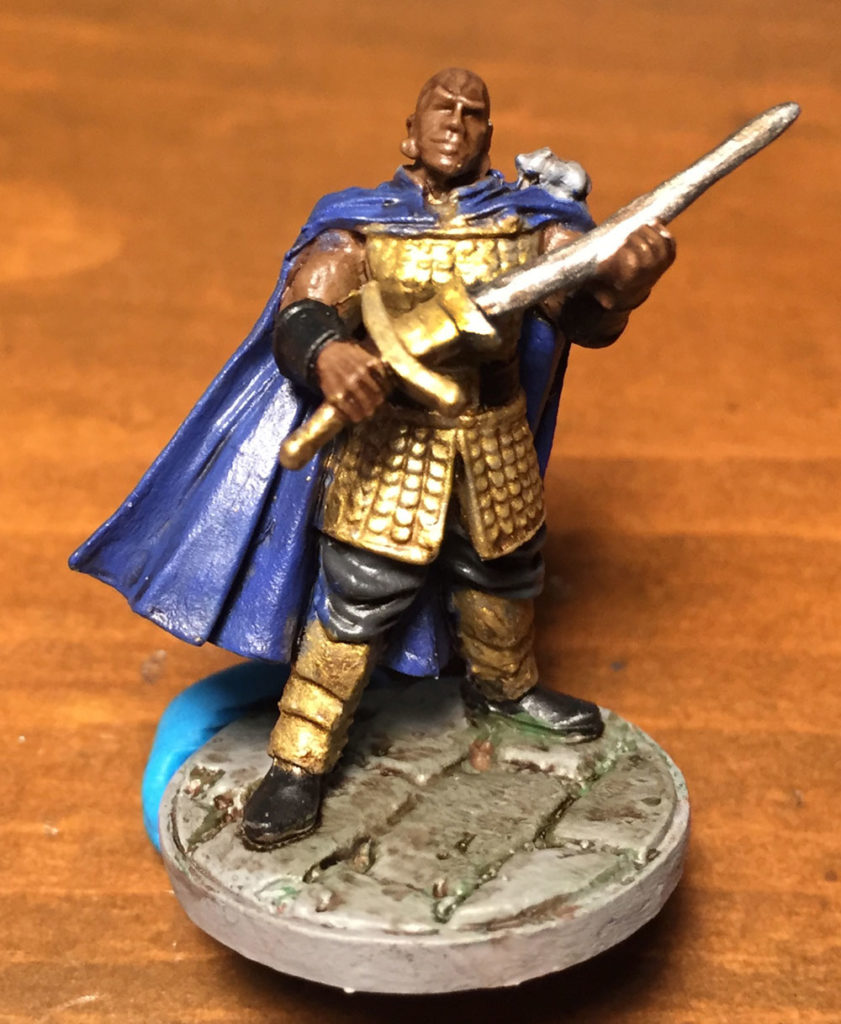
And that’s it! You’ve successfully painted your first D&D miniature.



What’s up, I read your blogs regularly. Your story-telling style is awesome, keep up the good work!
I’m not that much of a online reader to be honest but your blogs really nice, keep it up!
I’ll go ahead and bookmark your site to come back later
on. Many thanks